

Emergencies don’t come with a warning, they happen unexpectedly. So, in moments when you can’t reach your phone or explain what situation you are in, adding emergency contacts on Apple Watch and iPhone can make a significant difference.
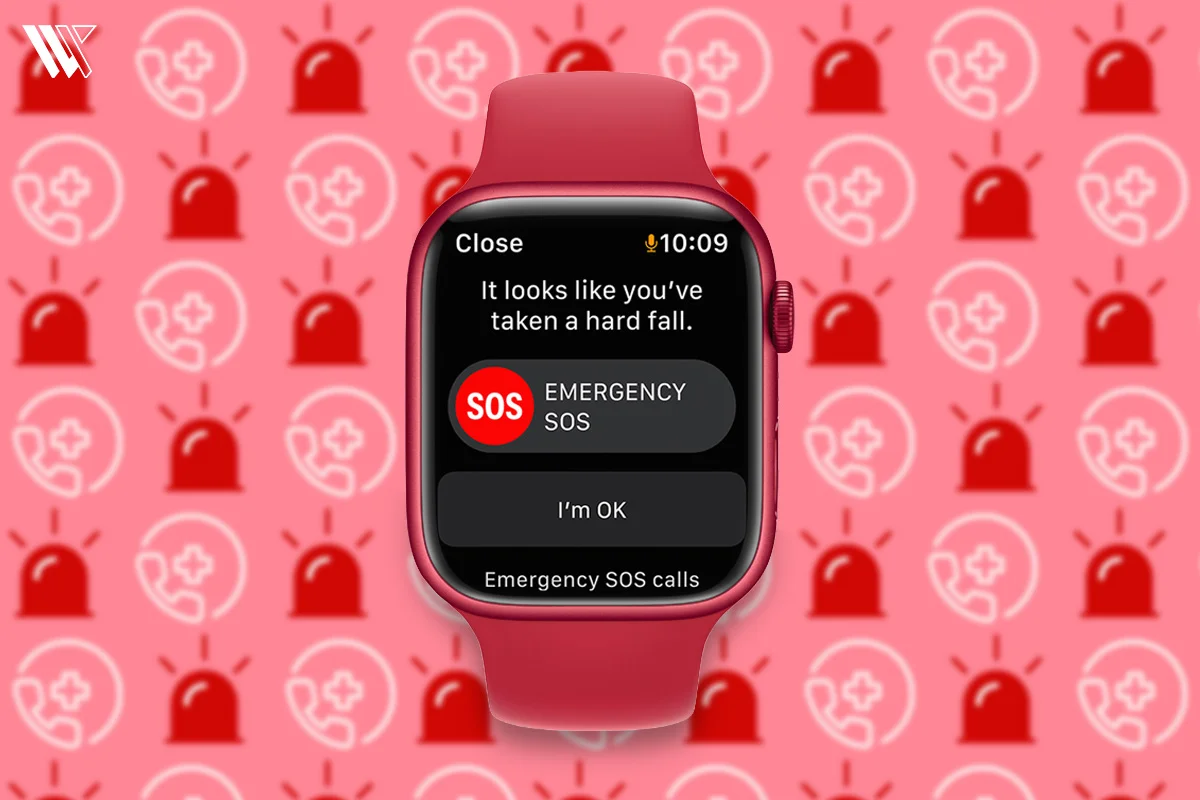
If you own an Apple Watch but are not sure of how to add emergency contacts, you are not alone. There are many people who often leave out this simple yet essential feature. In this guide, I will walk you through a step-by-step procedure so that you can do this process comfortably.
Set Emergency Contacts for Apple Watch: Quick Steps
If you are in a hurry, these are some quick steps to add emergency contacts on Apple Watch in just a few minutes through your iPhone.
Health App > Profile icon > Medical ID > Emergency Contacts > Add > Add Emergency Contact > Select relationship > Blue Checkmark
Decode the Decor
The Smart Jewelry Revolution — a practical guide to wearable tech.
As soon as this is done, your Apple Watch will automatically use the same contact in case of an emergency. And if you are wondering whether you have to do all of this for the watch separately, no, you don’t need to do anything else.
Add Emergency Contacts in Health App via Medical ID
I think many of you probably might not even know that you can easily manage emergency contacts on Apple Watch through Medical ID in the Health App. And once you are familiar, things will become clearer.
Talking about Medical ID, it is like an identity that provides information about you. It can be crucial in an emergency, such as your name, age, blood group and allergies, if any.
What makes this feature even more special is that your Apple Watch can display your emergency information automatically during critical situations, such as when it detects a hard fall or a crash. It allows the medical professionals or first responders access to your information without requiring you to unlock your device.
Further, if you want to add emergency contacts, follow these steps:


- Open the Health App, and click on the Profile Photo in the Summary.
- Then, click on Medical ID underneath your Profile Picture.
- Further, tap on Add next to Emergency Contacts.
- Post that, click on Add Emergency Contact with a green plus sign.
- Here, tap on any of the Contacts you want to add to the list of emergency contacts and then add their relationship with you.
- Tap the Blue Check icon on the top right when you’re done.
How to Remove an Emergency Contact Apple Watch via iPhone
Additionally, if you want to remove any of the contacts from your list of emergency contacts on Apple Watch-

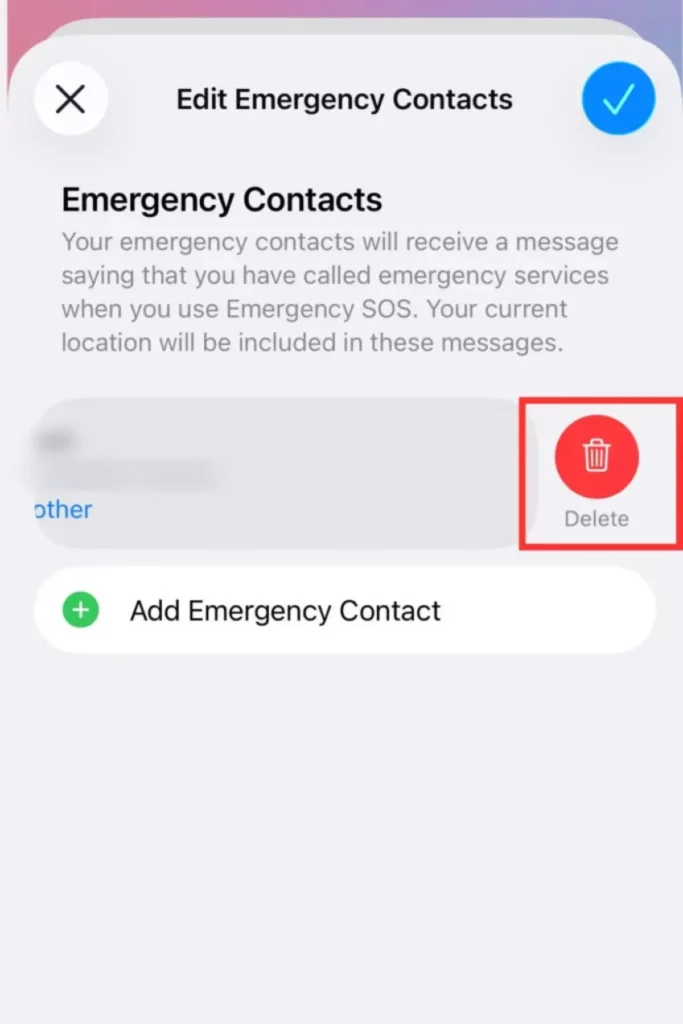
- Go to the Health App.
- Next, tap on your Profile Picture.
- After that, tap on Medical ID.
- Scroll down to Emergency Contacts > Edit.
- Then, tap the Delete Button next to the Emergency Contact you want to delete and then click on the Blue Checkmark when you are done.
What is really praiseworthy about this setup is that it keeps everything within the Apple ecosystem. It means you do not manage separate contact lists for both your iPhone and Apple Watch. Instead, once you add your Medical ID, the changes sync automatically, making the process simple and stress-free.
Confirm SOS Settings
Now that you have added contacts to your emergency list, only half the job is done. Many people add contacts, but they overlook the next step of enabling SOS settings. I always recommend checking your Emergency SOS settings so that your Apple Watch knows what to do exactly when an emergency arises. It is also important for crash and fall detection features to work.
To confirm SOS settings on your iPhone:
- Hold down the Side and Volume Buttons at the same time until the sliders show up.
- Then let go of the Buttons once the Emergency SOS countdown is over.
- Alternatively, you can activate Emergency SOS on your iPhone by rapidly pressing the Side Button five times. After selecting Settings > Emergency SOS, press five to activate Call.
In my opinion, this is a feature people set up once and then forget about. But check it at least once a year. Specifically with software updates, connecting new devices, or changing your number may erase your emergency contacts and you won’t even know about it.
Also, once you add any of your contacts to your emergency list, do let them know about it. So that they can keep an eye out if they get an alert.
Test Emergency SOS on iPhone and Apple Watch Safely
Once you’ve got everything set up with your emergency contacts on Apple Watch and iPhone, it would be a good idea to do a test run. People often assume that it will work when needed, but we often overlook something. So, if you do a quick check, you won’t have to deal with problems later.
If you test it, then in the time of an emergency, paramedics can reach you via emergency SOS. However, test it carefully so that you do not end up provoking real emergency services.
These are some safe ways to check if everything is working.
- Turn off Automatic Dialling. What this setting will do is it will not let your iPhone and Apple Watch call emergency services automatically. You can do so by-
- Open the Apple Watch app on your iPhone and select the My Watch Tab in the bottom left corner.
- Scroll down a little and then tap on Emergency SOS.
- Disable the Hold Side Button To Dial.
- You can still make a call using the Emergency Call slider even if you disable this setting.
- Let go of the side button if you unintentionally start the Emergency SOS countdown.
- Don’t hang up if the call has been placed, but you don’t require emergency assistance. Tell them you don’t require assistance after waiting for a response. Your watch then prompts you to decide whether you still wish to text your emergency contacts. If you choose to stop the text, tap No.
Wrap Up
In my view, adding emergency contacts on Apple Watch and iPhone is not just about preparing yourself for the worst case scenarios. It is also about how thoughtful you are for yourself and for those whom you can rely on in case of an emergency. This whole process takes just a few minutes, but it can make a world of difference in the moments that matter to you the most.
After adding emergency contacts on Apple Watch, confirming SOS settings and testing it safely, you will not only have completed the task, but also get a feeling of assurance that if something happens to you, paramedics will arrive to save you. We all know the news stories about the Apple Watch saving lives with its fall and crash detection features, and sometimes that security is all we need.
FAQs
Decode the Decor
The Smart Jewelry Revolution
A practical guide to wearable tech's future — delivered straight to your inbox.
Author
